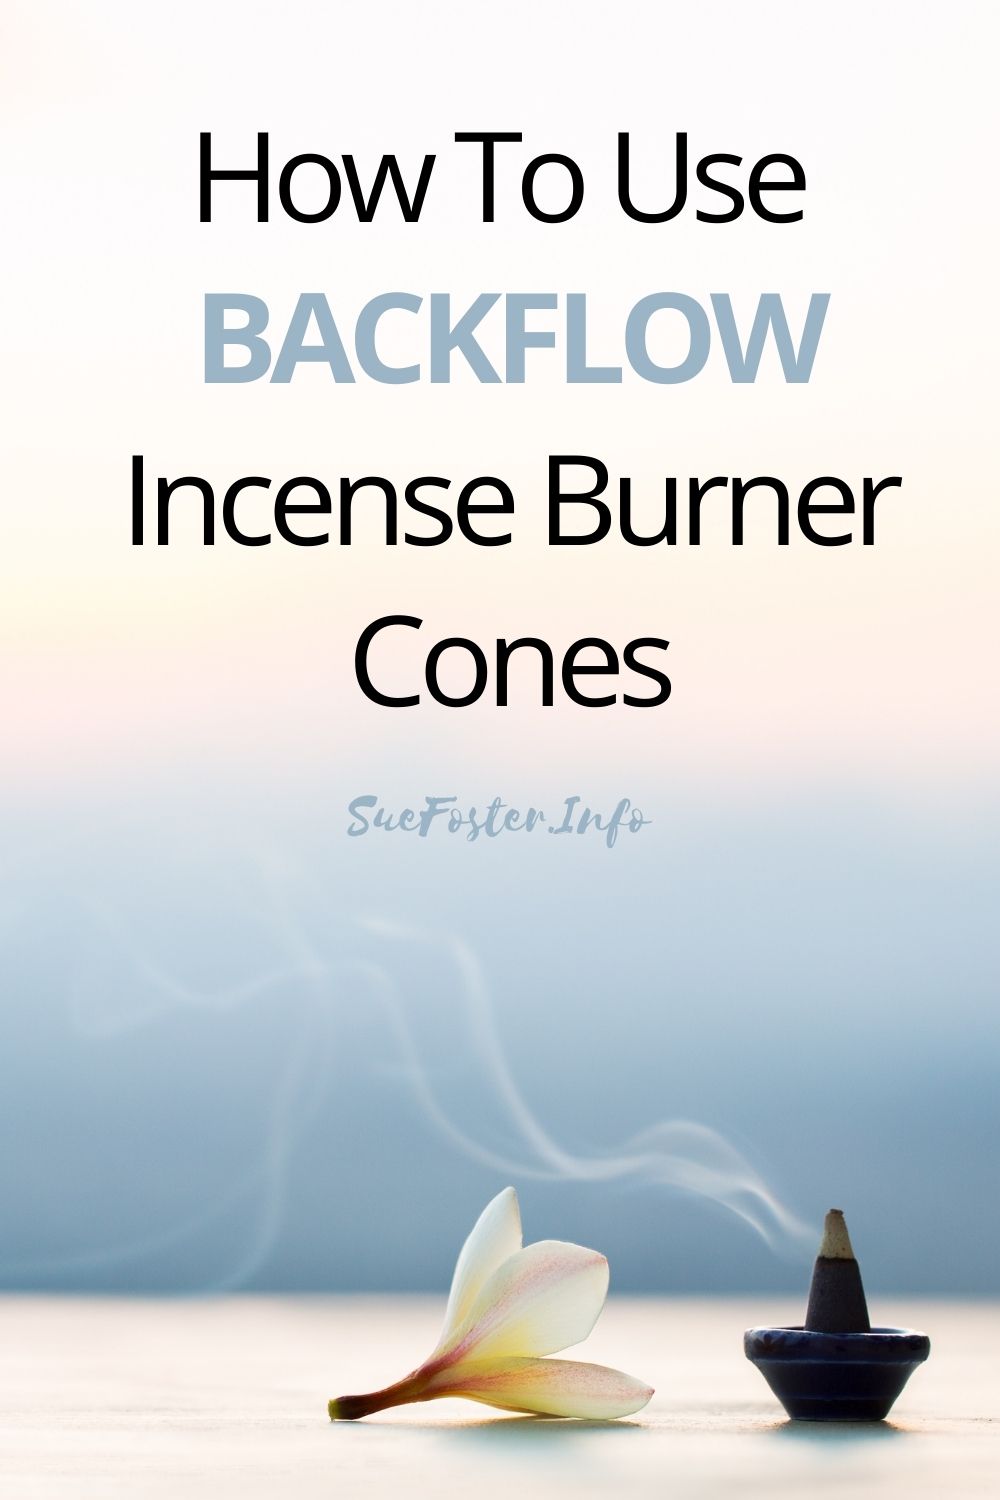
Are you into meditation? maybe Yoga? Placing an incense cone in your room or studio might be a good idea! If you enjoy the smell of calming scents then Incense cones are definitely for you. However, some struggle to light their new incense cones, if they do manage there is the whole issue of keeping it lit and ensuring enough heat is produced for the Backflow Incense Burner to produce the waterfall smoke effect.

Feeling a little nervous about Incense cones? Don’t, I have put together a step-by-step guide to light & use your new cones.
Step 1. Place your incense cone in a heat-proof container
Get a heatproof container like an ashtray or ceramic bowl, why? This is because the Incense cone produces a tonne of heat and you want to use a heatproof material for safety reasons. Spread half a millimetre of sand on the bottom of the container to help with the heat. Never forget to keep it away from curtains and other flammable objects!
Step 2. Ensure the Incense cone is upwards
Ensure step 1 above is complete, this is very important. Now place your Incense cone into the sand with it facing upwards (this is the pointing end facing up), ensure the sand is evenly spread around the cone to ensure it doesn’t fall over.
Nemesis Now Mother Maiden & Crone Backflow Incense Burner
Step 3. Light the top of the cone
This next step is all about safety, so ensure to take it nice and slow. Take a lighter or match and light the top of the cone, if you are not confident being close to the flame then simply take a long candle and use it to light the tip. You only need to place the flame for 10 seconds to get the cone alight.
Step 4. Wait till the tip of the cone turns orange and glows
Once you have placed your flame on the cone for 10 seconds the flame will fade away and the top of the cone will be left with an orange glow, This is a sign that your Incense cone is ready! If the cone is black then take your flame and reapply for 5 seconds, repeat until you get that glow of orange.
Step 5. Gently blow air onto the cone
Always ensure your flame is out on the cone, you should never leave your backflow incense burner unattended until 100% sure the flame is out. Even the smallest unwatched flame can cause big issues. Once you have lit your cone to ensure the flame is completely out just blow air on the top, as mentioned before just ensure the cone has an orange glow and you’re all good to go. Now place the cone over the small hole at the top of the waterfall. Make sure that it lines up with the hole on the burner perfectly, this creates a good vacuum and pulls the smoke downwards.
Putting out your cones
Unfortunately, once your backflow cones are lit, it’s very unlikely you will be able to put them out and save them for later use.
If you want to put out your Incense cone the best way is with a small bowl of water. Simply pick the cone up from the non-burnt section and place it in the bowl. Please note as I stated if you do this you will not be able to use that particular cone again. I recommend letting the whole cone burn out, they usually last 25 – 30 min and leave your room, studio or office smelling amazing.