The following instructions will help you to create a campaign on Amazon and get your first KDP book ad up and running. This is a quick automated way, with low bids and a low daily budget, perfect for anyone starting out.
Choose A Book
If you’ve made a few organic sales and your book has been on Amazon for around 2-3 months, this will be an ideal time to start your first ad.
Waiting a few months before running ads on any of your books allows Amazon to index them first, this helps with the ad set up and Amazon will already have an idea of the keywords associated with your books meaning that your ad will be more focused when using automated ads.
Setting Up Automated Ads
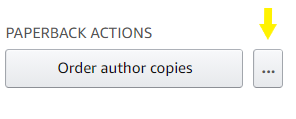
Go to your bookshelf and choose a book you’d like to promote. Click the button with the three dots on it and click on ‘Promote And Advertise‘.
Scroll down and choose the marketplace you wish to advertise on. I’m showing you using the Amazon UK site, you may wish to start with Amazon. com as it’s the largest marketplace and a good place to test your ads on.
As my books mainly sell in the UK, that is where I advertise. Once you’ve selected your marketplace, click ‘Create Campaign‘

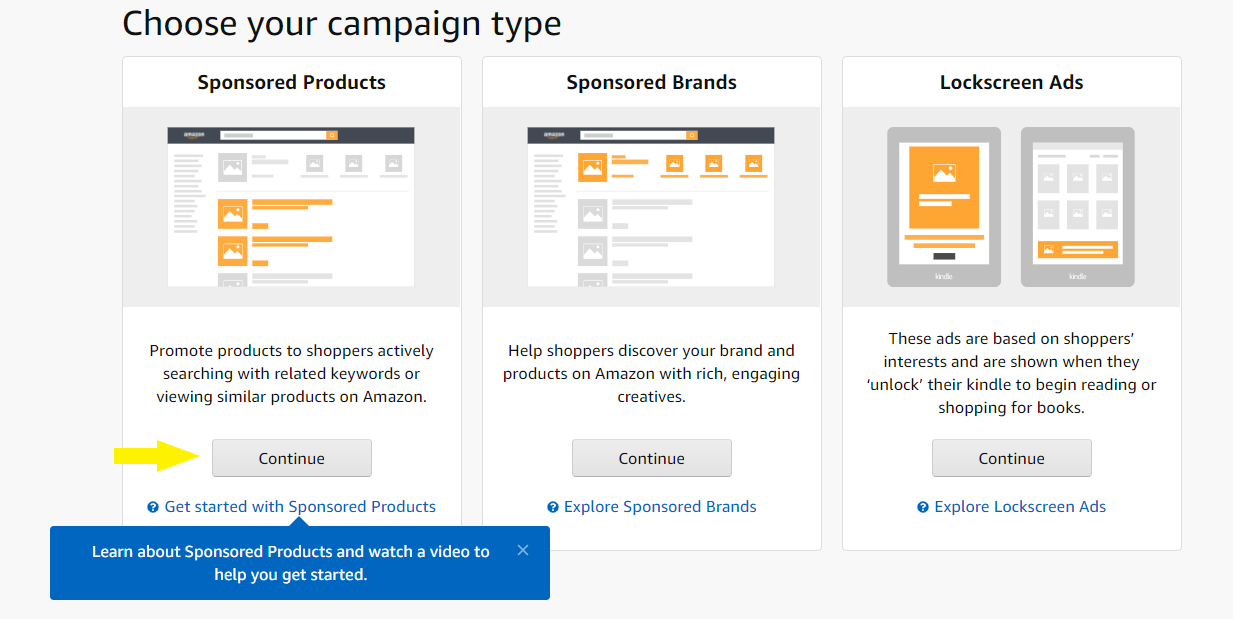
Now you’ll need to choose your campaign type. Select ‘Sponsored Products‘.
Ad Format

If you opt for a Custom text ad, you will be required to craft your own ad copy. However, this option only allows you to advertise one book per campaign, and you can preview your ad after reaching the bottom of the page.
On the other hand, if you choose the Standard ad, you can create an ad without custom text and have the freedom to select multiple books to advertise in a campaign, such as an entire series. You won’t be able to preview your ad at the end of the page.
Campaign Settings
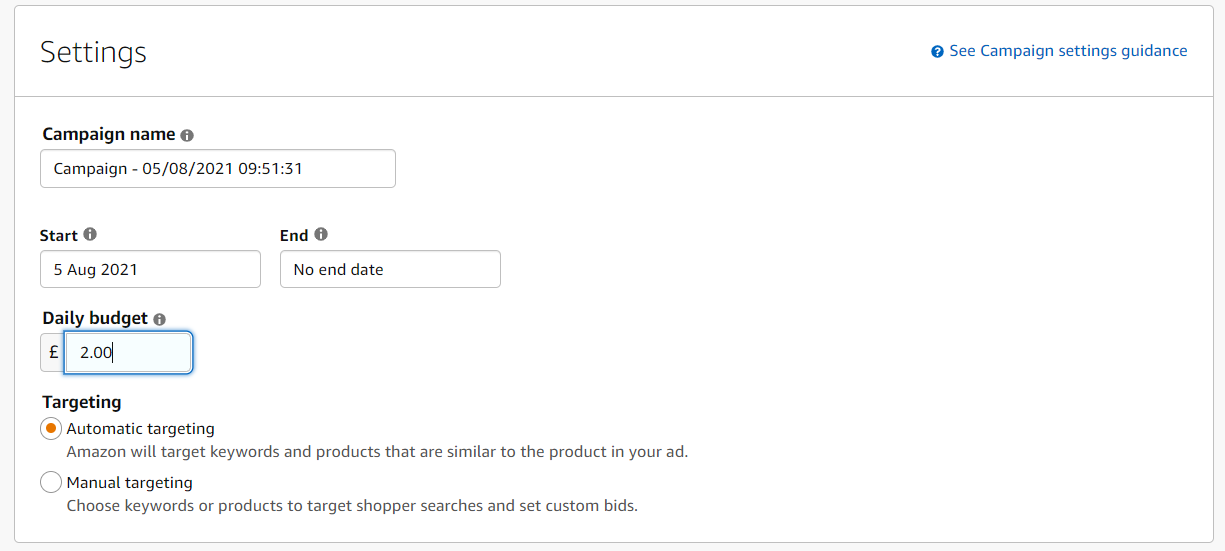
Next, you’ll need to name your campaign. This can be anything to help you recognise the book you are advertising, something as simple as the book name or a code that you will recognise.
Enter a start and finish date if required. I often don’t enter an end date as I monitor my ads daily and can always pause or archive them if they aren’t performing.
Start with a low daily budget, say £2-£5, don’t start with anything too much, it’s best to limit your daily budget until you get the hang of how ads work and see if they are performing for you.
Select ‘Automatic Targeting‘ to start with and then try manual targeting at a later date choosing your own keywords.
Automatic targeting is where Amazon creates the keywords and also creates the products on which your ads will appear.
Campaign Bidding Strategy
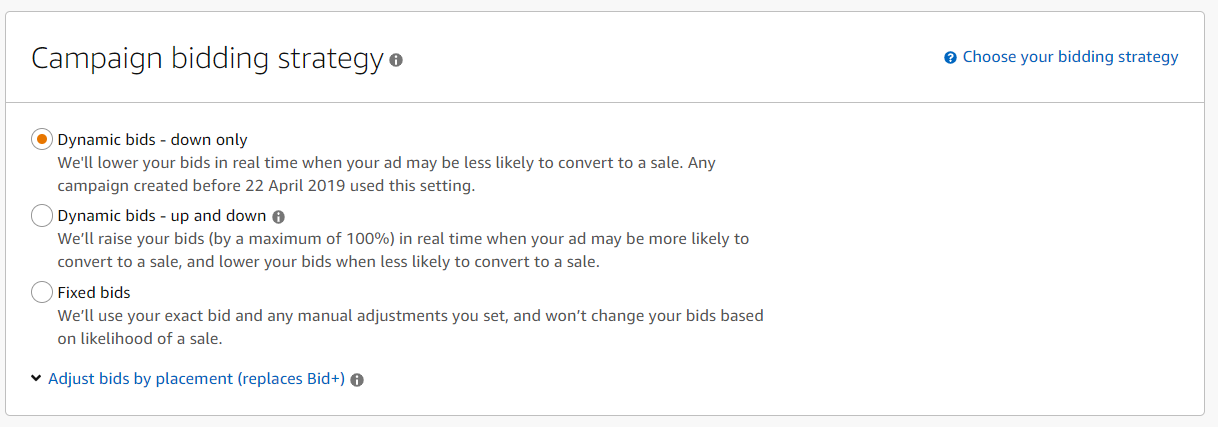
You’ll want to select ‘Dynamic Bids-Down Only‘ here. This means that Amazon will never go above the bid you set but will lower bids if your ad may be less likely to convert to a sale. This keeps you in control of your spending.
Ad Groups
If you are advertising more than one book in a similar niche, for example, paperback, hardback, or a series, these can be grouped in Ad Groups.
Many authors choose to add only one book to an Ad Group. You would name your ad group here, or leave it as it is if you’re only advertising one book. Then go on to select your product(s).

Select Your Products
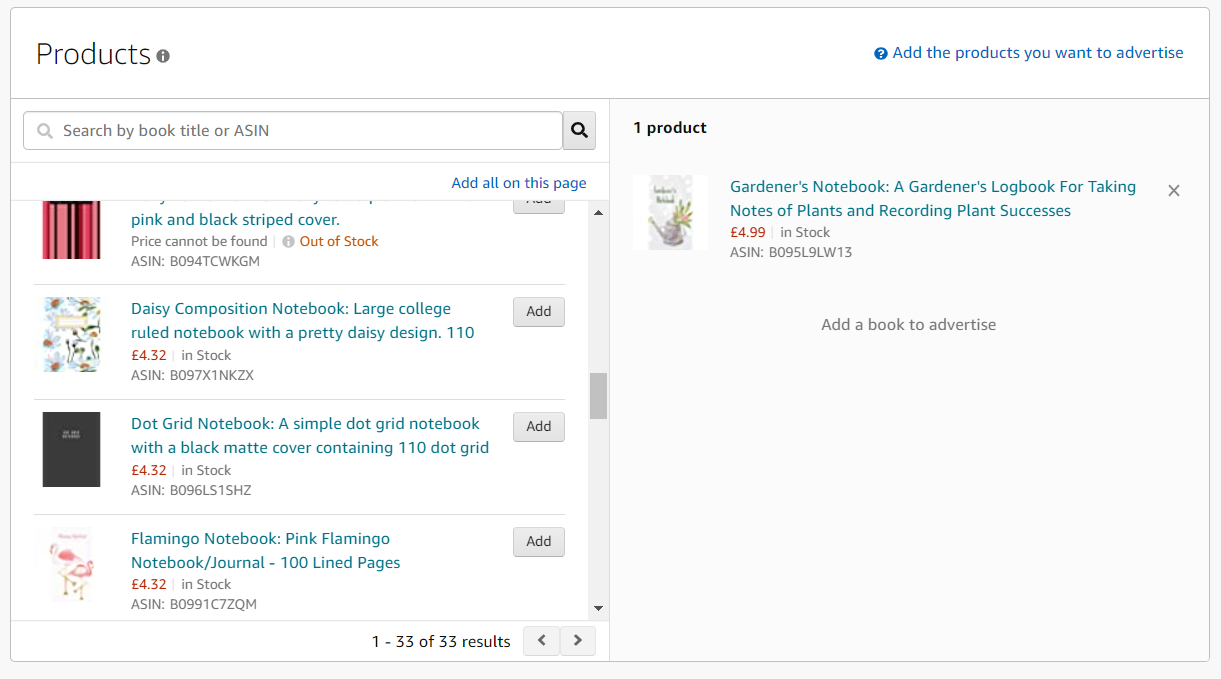
Choose the book or books that you wish to advertise from the list on the left-hand side and they will appear on the right side:
Set Your Default Bid
I suggest starting off very low with your default bids, something like 20 to 30 pence. I’ve entered 21 pence in the box pictured below and the reason for this is that many people round off their bids to say 20 pence. Increasing your bids slightly to odd numbers will allow your ad to be shown over someone else’s that has been rounded to 20 pence.
Amazon does suggest a bid amount, but when you’re just starting it’s best to start with low bids.

Negative Keyword Targeting & Negative Product Targeting
Filling these boxes is optional. The negative keyword box can be filled in once your ad has been running for a while. Use this to add keywords that you don’t want Amazon to bid on. You may have a keyword that has lots of clicks but no sales, in which case you may want to put this keyword in the negative keyword box.
You’re now ready to click the Launch Campaign button! Once you’ve done this, your ad will be reviewed and you should get an email notification.
Campaign Manager
Head over to the campaign manager where you will be able to view all your campaigns and data. Keep an eye on the following metrics:
Impressions
Impressions are how many times people have viewed your ad.
Clicks
How many times people have clicked on your ad.
CTR
The Click Through Rate is a percentage of clicks to impressions. You ideally want to maintain this above 0.5%.
CPC
Cost Per Click is how much each click is costing you.
ACOS
ACOS means Advertiser’s Cost Of Sale which is the amount spent divided by the number of sales.
You can click on any of the metrics you wish to display in the campaign manager.
Final Word
I hope this information helps you to get started creating your own Amazon ads for KDP quickly and easily! As time goes on you will start making sales and learning more about ads. You’ll then be able to increase your spending and try different methods.
Useful Tools
These are the tools I use when creating my own low-content books:
Canva – I use this daily for banners on my blog, creating pins for Pinterest, logos and book covers, interiors and more. I couldn’t do without it!
Book Bolt – Create KDP covers and interiors with ease. Get 20% off at checkout with my code: suefoster
Creative Fabrica – The best place for graphics and fonts for your books.
