Following on from my post How To Install WordPress on Ionos, the following will help you choose and upload a theme.

Once you’ve installed WordPress on your domain it’s time to log into your blog using the administrator name and password that you have just created. Here you will be able to choose one of the available themes or upload your own theme.
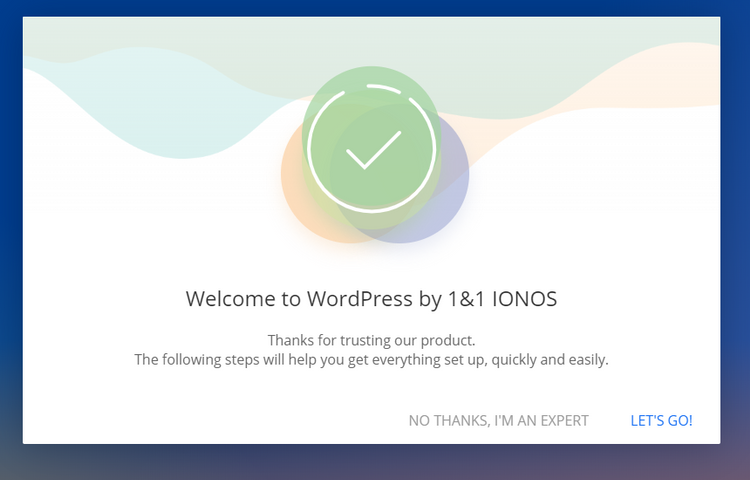
When you first log in you will be greeted by a screen, you can either click Let’s Go and the Ionos assistant will guide you, or click No Thanks I’m an Expert to set up everything yourself.
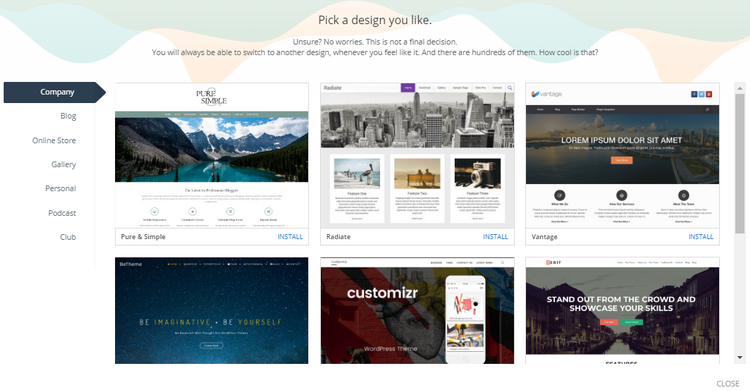
If you let 1&1 do it for you a page will come up asking you what type of website you wish to create. You will be able to pick a design. Suitable plugins will automatically be installed and you can add more as required:
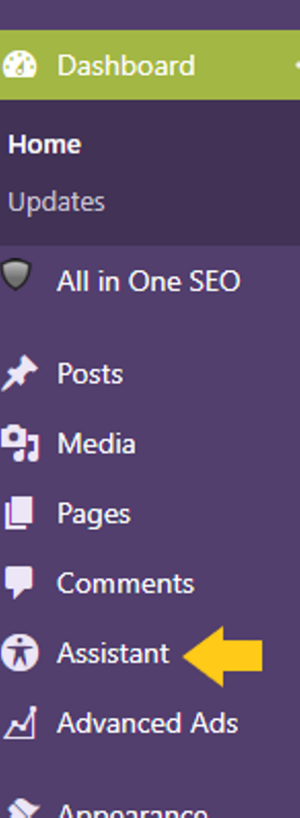
The assistant can be found in the left-hand side of your dashboard if you ever want to go back to it at a later date.
There are lots of free themes and paid themes, and many professional designs for different niches can be found at Studiopress.
I used to recommend Pipdig as they were very popular with bloggers, but since one of their plugins was found to contain several suspicious and malicious features, I’ve changed all my sites over to a different theme to be safe.
If you like the feminine theme I am using now it’s called ChicBoss.
Make sure you use a theme that is regularly updated. Free themes are okay for beginners, but after a while, if the theme isn’t updated by the developer it can start becoming glitchy, that’s why I recommend going for a paid theme as soon as you can afford one. They don’t have to cost a fortune, this theme costs only $29 for the regular licence pro version.
How to upload your theme
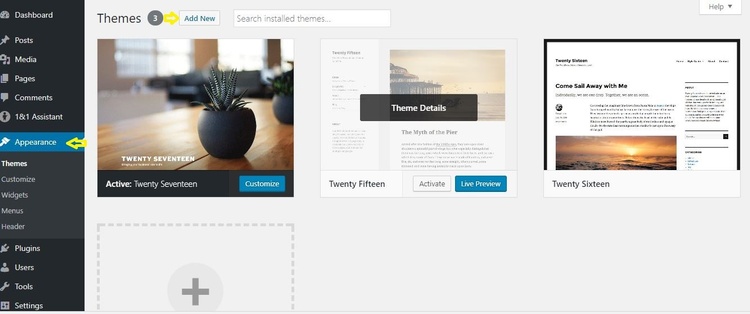
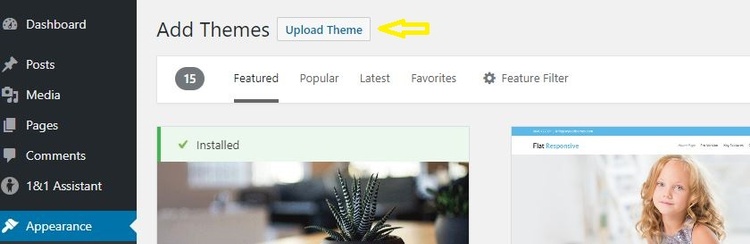
To Upload your own theme click Appearance then Themes then Add New. Then click Upload Theme
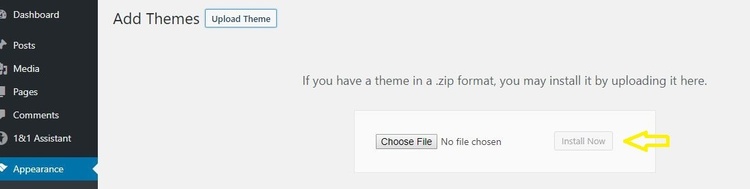
Any theme you buy will always be provided in a zipped folder, all you need to do is save this folder to your computer and then upload it.
You don’t have to unzip the folder, simply upload it as it is.
Choose your file by clicking the choose file button and find the zipped theme file on your computer, then click Install Now and wait for it to upload.
You will now need to click Activate:
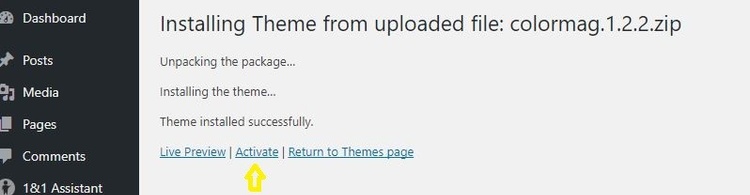
Your new theme is now ready to customise and use.
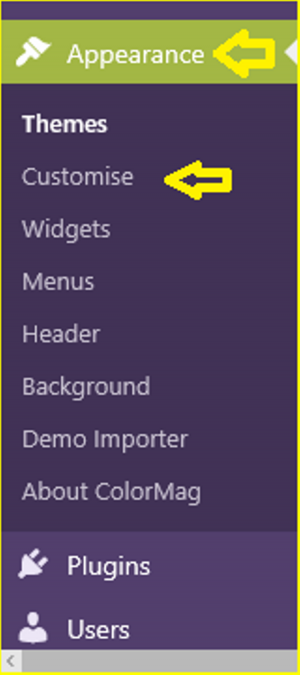
You can customise it by clicking Appearance, then Customise:
Here you should be able to upload your logo if the theme permits and change the theme colour, add widgets and more.
It’s best to go through all the settings and get yourself familiar with how your theme works.
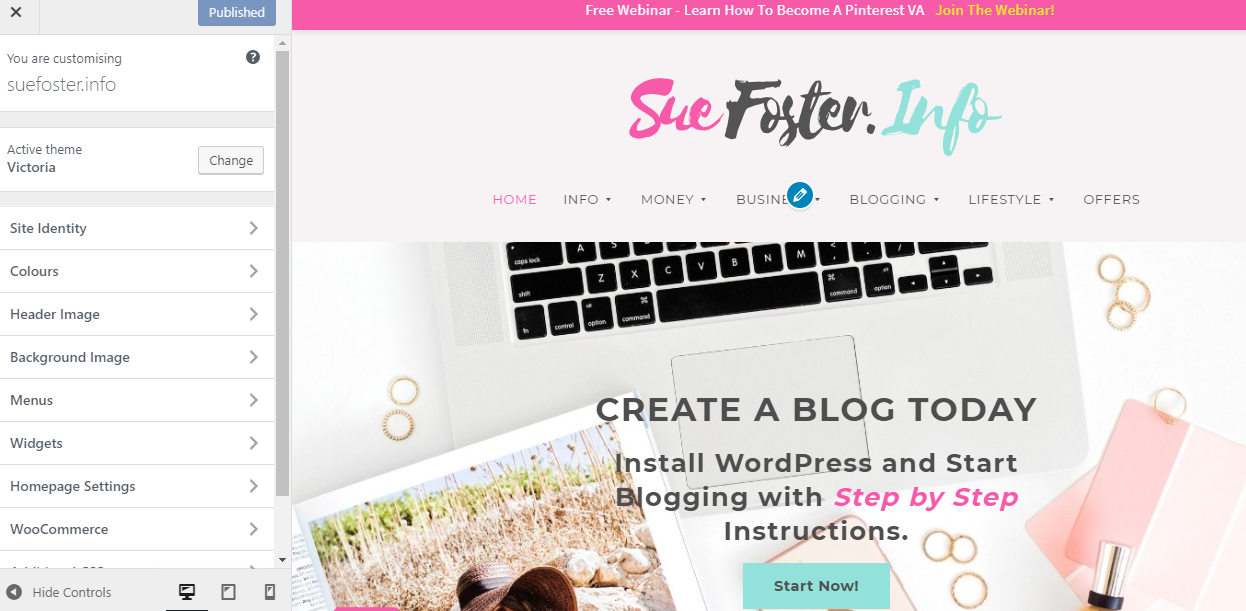
A live preview is usually visible on the right-hand side as you can see from the image below:
Make sure you read through all of the theme documentation. All themes have different settings and functions.
Always follow the documentation and ask the developer if you have any problems.